
Introduction
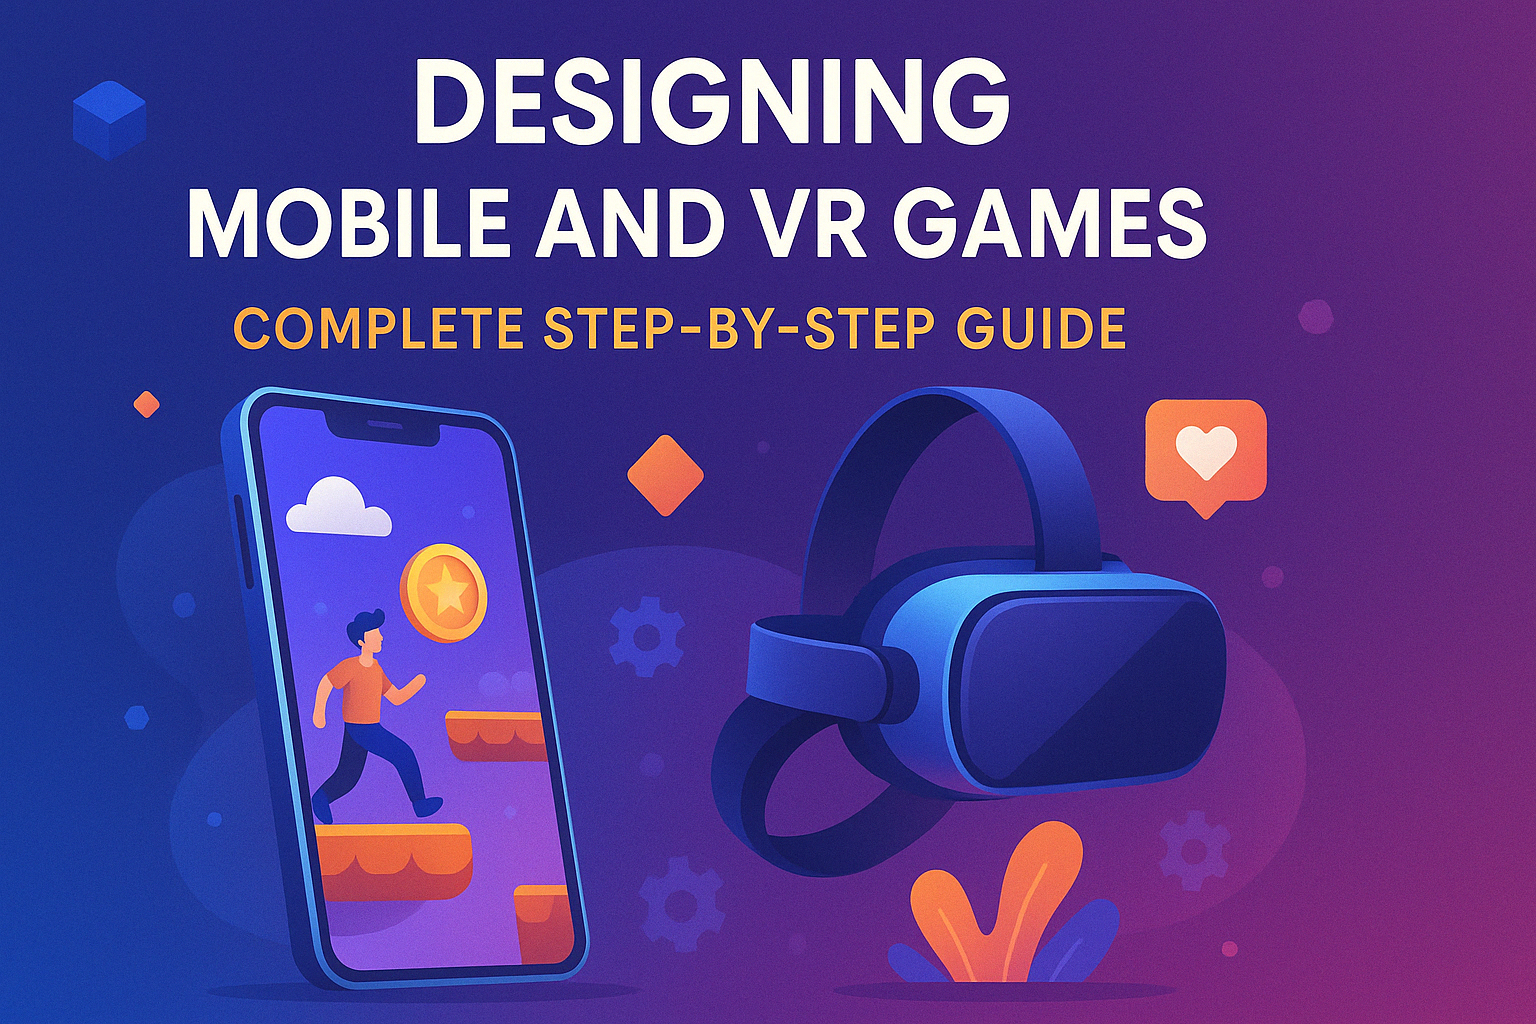
So, you’ve got a fantastic idea for a game, and you’re excited to get started—great! Designing Mobile and VR Games can be a thrilling journey, whether you’re envisioning the next blockbuster mobile app or crafting an unforgettable VR experience. This step-by-step guide to designing mobile and VR games will help you transform your idea into reality.
We’ll cover everything from initial brainstorming, prototyping, and core mechanics to playtesting, polishing your game, publishing it, and even exploring monetization options. And don’t worry if you’re just getting started; we’ll keep the tone conversational and friendly, offering practical insights and examples from popular games and renowned designers along the way.
Mobile games and virtual reality (VR) games each come with their own unique opportunities and challenges. Mobile gaming alone accounts for over half of the entire video game industry’s revenue (Mobile Game Development Process: Step-by-Step Guide | Digitalfren), showing how huge the audience is.
VR, on the other hand, is a newer frontier – it may be smaller in market size, but it offers unparalleled immersion and a rapidly growing player base. In this guide, we’ll highlight tips for both mobile and VR design. Ready? Let’s dive in!
Step 1: Ideation – From Concept to Game Plan
Every great game starts with a spark of an idea. This is the concept phase, where you decide what game you want to make and who it’s for. Begin by imagining the core concept or theme of your game. It might help to ask yourself a few questions to refine your idea (Mobile Game Development Process: Step-by-Step Guide | Digitalfren):
- What kind of game would you like to make?
- Who is your target audience?
- What platform are you focusing on (mobile, VR, or both)?
- What experience do you want players to have?
Jot down your thoughts in a simple game concept document. For mobile games, thinking about where and how people will play can shape your idea – mobile gamers often play in short bursts, so games like Angry Birds or Candy Crush succeed with quick, engaging levels. In contrast, VR players look for immersive experiences; a concept like Beat Saber (the hit VR rhythm game) revolves around physical movement and music, making the most of VR’s motion controls and sense of presence.
Don’t be afraid to draw inspiration from existing games or genres. Maybe you love a certain game and wish you could play something similar with a twist – go for it. One VR developer guide even suggests that execution matters more than total originality, so it’s fine to take a known idea and give it your own spin (VR Game Development – A step by step expert guideline). The key is to choose an idea that excites you and feels fun, because you’ll be spending a lot of time with it.
During ideation, also start thinking about who will play your game and how your game might eventually make money. Is it aimed at casual mobile players, hardcore VR enthusiasts, kids, adults? Defining your audience will guide your design decisions (art style, complexity, controls, etc.). And consider your business model early: will it be free with in-app purchases, a premium paid game, or something else? Plan monetization early so your concept aligns with your business model. We’ll cover monetization strategies in detail later on, but keep it in mind from the start.
A famous example of perseverance at the concept stage is Rovio, the maker of Angry Birds. Angry Birds was famously Rovio’s 52nd attempt – they made 51 games before finally hitting on the concept that became a worldwide phenomenon (Rovio History – Rovio). So if your first idea isn’t a winner, don’t worry – brainstorming and iterating on concepts is part of the process. The goal is to choose a concept you’re excited about and that feels achievable for you to develop.
Step 2: Prototyping – Testing Your Idea Early
With a solid game idea in hand, the next step is to create a prototype. A prototype is a simple, rough version of your game that lets you test the core gameplay quickly (Game Development Stages: From Concept to Launch!). Think of it as a “playable sketch” – it doesn’t need pretty graphics or tons of levels. The goal is to find out if your core idea is fun and feasible. As one source puts it, a prototype is a functional model that checks whether the concept is enjoyable in practice (Game Development Stages: From Concept to Launch!).
For your prototype, use placeholder art or basic shapes. It’s okay if it’s ugly or unpolished. If you’re making a platformer, for example, just get the running and jumping working with simple blocks. If it’s a VR game, maybe prototype a single interaction (like picking up and throwing an object) in an empty scene. What matters is that you (and others) can play it and feel the core mechanic.
Prototyping early saves you from investing months into an idea that might not pan out. Many experienced studios emphasize this. The studio behind mobile hits like Clash of Clans, Supercell, is famous for killing projects that don’t meet their quality bar. They’ve been known to kill a prototype early if it isn’t fun (Quality is worth killing for: Supercell’s ruthless approach to production). That might sound harsh, but it underscores a truth: if a game isn’t fun in the prototype, it’s unlikely to magically become fun later. Better to fail fast, learn from it, and iterate on the idea.
When building your prototype, focus on the core mechanic – the single most important thing players will do. If you’re making a VR sword-fighting game, prototype the sword swinging and see if it feels satisfying. If you’re making a puzzle game, create a few sample puzzles to test whether they’re enjoyable. For example, the hit VR game Beat Saber began as a small prototype and quickly proved its fun factor (After Building One of VR’s Most Successful Games, ‘Beat Saber’ Founder Plans to Take a Break from VR). The developers could immediately tell that slashing blocks to music was engaging, even with simple visuals, so they doubled down on that idea.
After you have a basic prototype, playtest it. Try it yourself, but also let some friends or colleagues give it a go. Watch how people interact with your game. Do they understand what to do? Are they having fun, or do they look confused or bored? Sometimes an idea that sounded great on paper doesn’t translate to gameplay – and that’s okay. Use what you learn to tweak the mechanics or even rethink the concept. It’s much easier to pivot or adjust now than after you’ve built a full game.
Remember, the prototype stage is all about experimenting and iterating quickly. Keep things simple and be prepared to make changes. If something’s not working, don’t be afraid to change it or start over with a fresh idea. By prototyping early and often, you’ll hone in on a game concept that’s truly fun before you invest big time in development.
Step 3: Design the Core Gameplay and Mechanics
If your prototype shows promise, great – you’ve got the foundation of a game! Now it’s time to flesh out your game design in detail. This means defining the rules, mechanics, and systems that will make up the full experience. Essentially, you’re answering the question: What does the player do, and why is it fun?
Start with your game’s core mechanics and core loop. The core loop is the repeating cycle of actions that players will do over and over. For a mobile example like Clash of Clans, it revolves around collecting resources, building/upgrading, and battling, repeated in cycles. In VR, Beat Saber has a very simple loop of slashing incoming blocks to music and chasing high scores. Identify the core loop for your game, and make sure it’s engaging and satisfying, since players will be doing it a lot.
When designing mechanics, aim for that sweet spot described by Atari founder Nolan Bushnell’s famous quote: “All the best games are easy to learn and difficult to master. They should reward the first quarter and the hundredth.” (Bushnell’s Theorem: Easy to Learn, Difficult to Master – Wolfshead Online). In other words, make the basics simple, but add depth and challenge to keep players hooked. For example, your game’s first level or tutorial should give players an early win and teach the basics, then later levels can ramp up difficulty or complexity once they’re comfortable.
It can help to write a Game Design Document (GDD) – a blueprint that records all the design details and keeps your team on the same page (Game Development Stages: From Concept to Launch!). In the GDD, you’ll note the core mechanics, how levels or progression work, character info, controls, story elements, and so on. This doesn’t have to be a huge novel; even a simple outline can serve as a reference to ensure everyone (including future you) understands the game’s vision and details. A well-thought-out design now will save a lot of confusion later.
Step 4: Designing UI/UX – Interface and Experience
No matter how brilliant your mechanics are, the game needs a good User Interface (UI) and User Experience (UX) design so that players can actually enjoy it. UI refers to the on-screen elements like menus, buttons, and indicators, while UX is about the overall feel and flow – how easy and satisfying it is to interact with the game.
Mobile UI/UX: On mobile devices, screen space is limited and players use touch controls, so simplicity is key. Design your interface to be clear and uncluttered. Use large, tappable buttons and readable text. For example, Candy Crush uses just a few clear icons and a simple map, making it easy for new players to understand quickly. Aim to let the player grasp the basics of your UI within seconds. Also, follow common mobile conventions (like the pause button icon or gear icon for settings) so things are where players expect. A crucial aspect is onboarding: guide new players gently with a quick interactive tutorial or tool-tips, rather than dumping a wall of text. Mobile players can be impatient, so get them into gameplay quickly while teaching subtly.
VR UI/UX: In VR, interface design must account for the player being inside the game world. It’s best to integrate UI elements into the 3D environment or use in-game interfaces that float at a comfortable distance. Use natural controls – let players interact by moving their hands or head, like actually reaching out to press a virtual button or grabbing an object, instead of using abstract button presses. Always prioritize user comfort: avoid sudden camera movements or anything that might cause motion sickness. Maintain a high frame rate and offer comfortable movement options (for example, many VR games let you teleport short distances instead of running continuously, to prevent nausea) (VR Interaction Design: Best Practices & Principles). And as with any game, give clear visual, audio, or haptic feedback for player actions so the player feels in control and informed about what’s happening (VR Interaction Design: Best Practices & Principles). A well-designed VR interface should feel intuitive – the player can focus on the experience, not on figuring out menus.
Regardless of platform, good UI/UX design comes down to putting yourself in the player’s shoes. Test your menus and controls with fresh eyes: if someone new picks up your game, can they navigate the menu and start playing without confusion? Do they know how to pause, or find their inventory (if you have one)? Iterate on the interface just like you do on gameplay. Often, less is more – a clean, simple UI that presents only what’s needed is better than a flashy but confusing screen. Strive for an interface that complements your game and guides the player, without ever overwhelming them.
Step 5: Choosing the Right Development Tools
By this point, you should have a clear vision of your game. Now you need the tools to build it. The two most popular game engines today are Unity and Unreal Engine (though others like Godot exist), and both can handle mobile and VR development. We’d suggest using whichever you’re more comfortable with.
Unity is known for being beginner-friendly and extremely popular – it powers a huge portion of mobile games (around 71% of the top 1000 titles) (VR Game Development – A step by step expert guideline), and many VR games as well. Unity uses C# for scripting and comes with a vast community and asset store, which can accelerate your development. It’s also cross-platform, so you can build for iOS, Android, PC, and VR headsets all from the same project.
Unreal Engine, on the other hand, is famous for its high-end graphics capabilities. It uses C++ (but also offers Blueprints, a visual scripting system) and can produce stunning visuals – great if your game demands cutting-edge graphics. Unreal might have a steeper learning curve and can be more demanding on hardware, but it’s a powerful choice, especially if you’re aiming for a high-fidelity experience. Some mobile and VR games use Unreal (particularly those that want top-tier visuals).
Ultimately, there’s no wrong choice – both engines are extremely powerful. Pick the one that fits your project scope and your own skills. If you’re a solo developer or new to this, Unity’s gentle learning curve might get you results faster. If you have a bit more experience or need those ultra-realistic graphics, Unreal could be your friend. The good news is both Unity and Unreal have strong support for mobile and VR platforms, so either way you’ll be in good company.
Beyond the game engine, you’ll likely use other tools: art programs for graphics (e.g. Photoshop, GIMP, or Blender for 3D models), audio editors for sound effects, etc. If you’re not an artist or sound designer, consider using asset stores and royalty-free audio libraries to supplement your work. Modern engines also have lots of plugins to help with common tasks (like VR interactions or mobile touch controls) – don’t reinvent the wheel if you can help it. Choose tools that streamline your workflow and let you focus on the fun parts of development.
Step 6: Development and Iteration – Building Your Game
Now comes the heart of the journey: developing the game. Take the plan and prototypes you’ve made and turn them into a complete game. It’s best to build in stages: get something playable working first (often called an alpha), then add content and features until you have a feature-complete beta version, and finally polish everything for release.
Test your game continuously as you develop. Don’t wait until the end to see if it’s fun – keep playing it yourself, and have others playtest new features or levels. Be ready to refine your design based on feedback; if testers find a level too hard or a mechanic confusing, tweak it. This iterative approach ensures you catch issues early and steer the game toward maximum fun.
Also, keep an eye on performance, especially on mobile and VR devices. Optimize your game so it runs smoothly (nobody enjoys a laggy or crashing game). Simple steps like compressing textures, using efficient code, and limiting the number of on-screen objects can go a long way. A smooth experience is particularly crucial in VR to avoid discomfort.
As you near the end, focus on polish. Fix bugs, improve visuals and audio, and make sure the controls and interface feel responsive. Little details – like satisfying sound effects or a snappy UI – can make a big difference in how professional your game feels. Before launch, do a final round of testing on all target devices to catch any last issues. By the end of this phase, you should have a stable, enjoyable game that’s ready to share with the world.
Step 7: Publishing Your Game – Launch Time!
This is it – time to release your creation into the world. Publishing involves packaging your game for the target platform and getting it onto the appropriate distribution channels.
For mobile games, this means the app stores. You’ll need to sign up as a developer on the Apple App Store (for iOS) and Google Play (for Android). Each has its guidelines and requirements – for example, Apple has a review process and certain content guidelines, and Google Play requires you to set a content rating. Prepare your store listing materials: a catchy game description, some screenshots (or even a short video trailer), and an attractive app icon. These will help make a good first impression on potential players. Once you upload your build and metadata, you’ll submit for review. It can take a few days (especially on Apple’s store) to be approved and go live.
For VR games, the publishing path depends on the platform. If you developed for the Meta Quest (Oculus Quest), you have a couple of options: the official Quest Store or App Lab. The Quest Store is curated (they only accept games that meet certain quality and polish criteria), so you might need to pitch your game to Meta for inclusion. App Lab, on the other hand, is an easier route – you can publish there without full curation, and Quest users can find your game via direct link or by searching the exact title. If your VR game is for PC VR (like Oculus Rift, HTC Vive, Valve Index, etc.), you’ll likely publish on Steam. Steamworks (Valve’s developer portal) lets you create a store page, upload builds, and release your VR game to the Steam store (after a one-time fee and a short review to make sure your game runs). Just like mobile, you’ll want a great store page with screenshots, trailer, and description to attract VR players.
Whichever platform, consider doing a soft launch or beta test if possible. For mobile, you might release your game in a smaller region first (or use TestFlight/closed beta testing) to gather feedback and ensure your game performs well in the real world. In VR, you might distribute some test keys to a community (like a subreddit or Discord group) to get early feedback. This can help you catch last-minute issues and gauge player reactions before the big launch.
Don’t forget about marketing. “If you build it, they will come” doesn’t always apply in the crowded app stores. Spread the word about your game: share teasers or development insights on social media, make a launch trailer, reach out to gaming communities or forums related to your game’s genre, and maybe contact a few game reviewers or influencers who focus on indie/mobile/VR games. Even a little buzz can help your game stand out among thousands of others.
Finally, when your game goes live, congratulations! 🎉 Take a moment to celebrate – it’s a big achievement. Pay attention to player reviews and feedback, and be ready to release updates. Early players might discover bugs or suggest improvements. Showing that you care (by fixing issues and adding small improvements) can turn first-time players into long-term fans. Launch day is not the end of the journey, but rather the start of a new chapter where your game meets its players.
Step 8: Monetization Strategies – Making a Sustainable Game
A big part of launching a game is deciding how it will earn revenue (if that’s your goal). Different approaches make sense for different platforms and audiences, so choose one that fits your game design and player expectations. Here are some common monetization models:
- Free-to-Play with In-App Purchases: The game is free to download, but players can buy optional in-game items or content. This model (often called freemium) is dominant in mobile gaming. Successful examples include Clash of Clans and Genshin Impact, where players can enjoy the game for free but have the option to spend on extras (like gems, skins, or speeding up progress (Game Development Stages: From Concept to Launch!)】. The key is to ensure the game is enjoyable without paying, while offering cool bonuses for those who do spend. Designing fair and non-intrusive in-app purchases (often cosmetic or convenience items) can keep players happy and generate revenue.
- Advertising-Supported: The game is free and earns money by showing ads to the player. This is common in casual and hyper-casual mobile games. For instance, a simple arcade game might show a banner ad or a 30-second video ad every few rounds, or offer a reward (like an extra life or in-game currency) in exchange for watching an ad. Flappy Bird famously made its revenue purely through in-game ad (Game Development Stages: From Concept to Launch!)】. If you choose ads, use them wisely – too many or annoying ads can drive players away. Rewarded ads (where the player opts in to watch) tend to be more accepted by players than forced pop-up ads.
- Premium (Paid) Games: The player pays once upfront to download the game, and that’s it – no ads or in-app purchases. This is the traditional model of selling games, and it’s still viable, especially for high-quality experiences. Premium is common for many VR titles (VR players are often willing to pay for a full experience) and for certain mobile games (e.g. indie darlings like Monument Valley or the mobile version of Minecraft are paid downloads (Game Development Stages: From Concept to Launch!)】. The challenge with premium games is convincing people to pay before they try it. That means you’ll rely on screenshots, trailers, and word-of-mouth to convey the value. The upside is, if your game offers a lot of value, players pay once and can enjoy it without any monetization friction.
- Subscriptions/Season Passes: Some games monetize through subscriptions or battle passes. A subscription might be a monthly VIP membership that gives players extra rewards or perks each month. A battle pass (popularized by games like Fortnite) is a seasonal system where players pay a small amount for a pass and then unlock various rewards by playing the game over that seaso (Game Development Stages: From Concept to Launch!)】. This model can work alongside free-to-play: the game is free, but dedicated players have the option to spend periodically on a pass for bonus content. Subscriptions are less common in mobile/VR, but some games have tried VIP clubs or daily reward passes. If your game plans to operate long-term with ongoing updates, a season pass model can provide steady revenue while engaging players with new goals.
You can also mix models (for example, a game might be free with ads but also offer an in-app purchase to remove ads and unlock some bonus levels – combining ad and premium models). The golden rule is to keep monetization fair and player-friendly. If players feel your game respects their time and wallet, they’re more likely to stick around (and maybe spend money). Conversely, if a game is too pay-to-win or shoves ads in their face constantly, players will churn (leave) quickly.
When planning monetization, think back to your target audience and similar games in your genre. Mobile gamers today often expect free games, so a free-to-play approach might maximize reach. VR gamers might expect a paid game but with robust content. Do a bit of homework on what works in your niche. And remember, plan your monetization during design – for instance, if your game will rely on selling character skins, you’ll want to design cool customizable characters and a wardrobe system from the start.
Conclusion – Your Game Design Journey
Designing and developing a game from concept to launch is a challenging but incredibly rewarding adventure. We’ve gone through how to take a raw idea, refine it, test it, build it out, and finally share it with the world. Along the way, we touched on the importance of iteration, considering your audience, and tailoring the experience for mobile or VR. By now, you should have a clearer picture of what steps to take on your own game development journey.
It’s important to remember that every expert was once a beginner – even the biggest games started as small ideas or rough prototypes. So if things seem daunting, take it one step at a time. Use the tools and advice we’ve discussed: brainstorm freely, prototype quickly, listen to feedback, and polish your game with the player experience in mind.
You have everything you need to get started on bringing your game idea to life. That idea you have – start sketching it out, build that tiny prototype, and see where it leads. Who knows – maybe your game will be the next big hit! Good luck, and happy game developing!


